Build interactions using SpriteKit and SwiftUI
WWDC20 is blowing our minds this week with a lot of great new things and I'm particularly stuned with this new feature in SwiftUI: SpriteView. Now you can embed SpriteKit views in SwiftUI in a very simple way, you take your SKScene and pass it as an argument on SpriteView just like that:
import SwiftUI
import SpriteKit

class GameScene: SKScene {
    // Game code here
}

struct ContentView: View {
    var body: some View {
        SpriteView(scene: GameScene(size: CGSize(width: 300, height: 400)))
            .frame(width: 300, height: 400)
    }
}
It's recommended to use the same width/height as the GameScene, you can ignore it but have in mind that the scene will stretch to maintain its size.
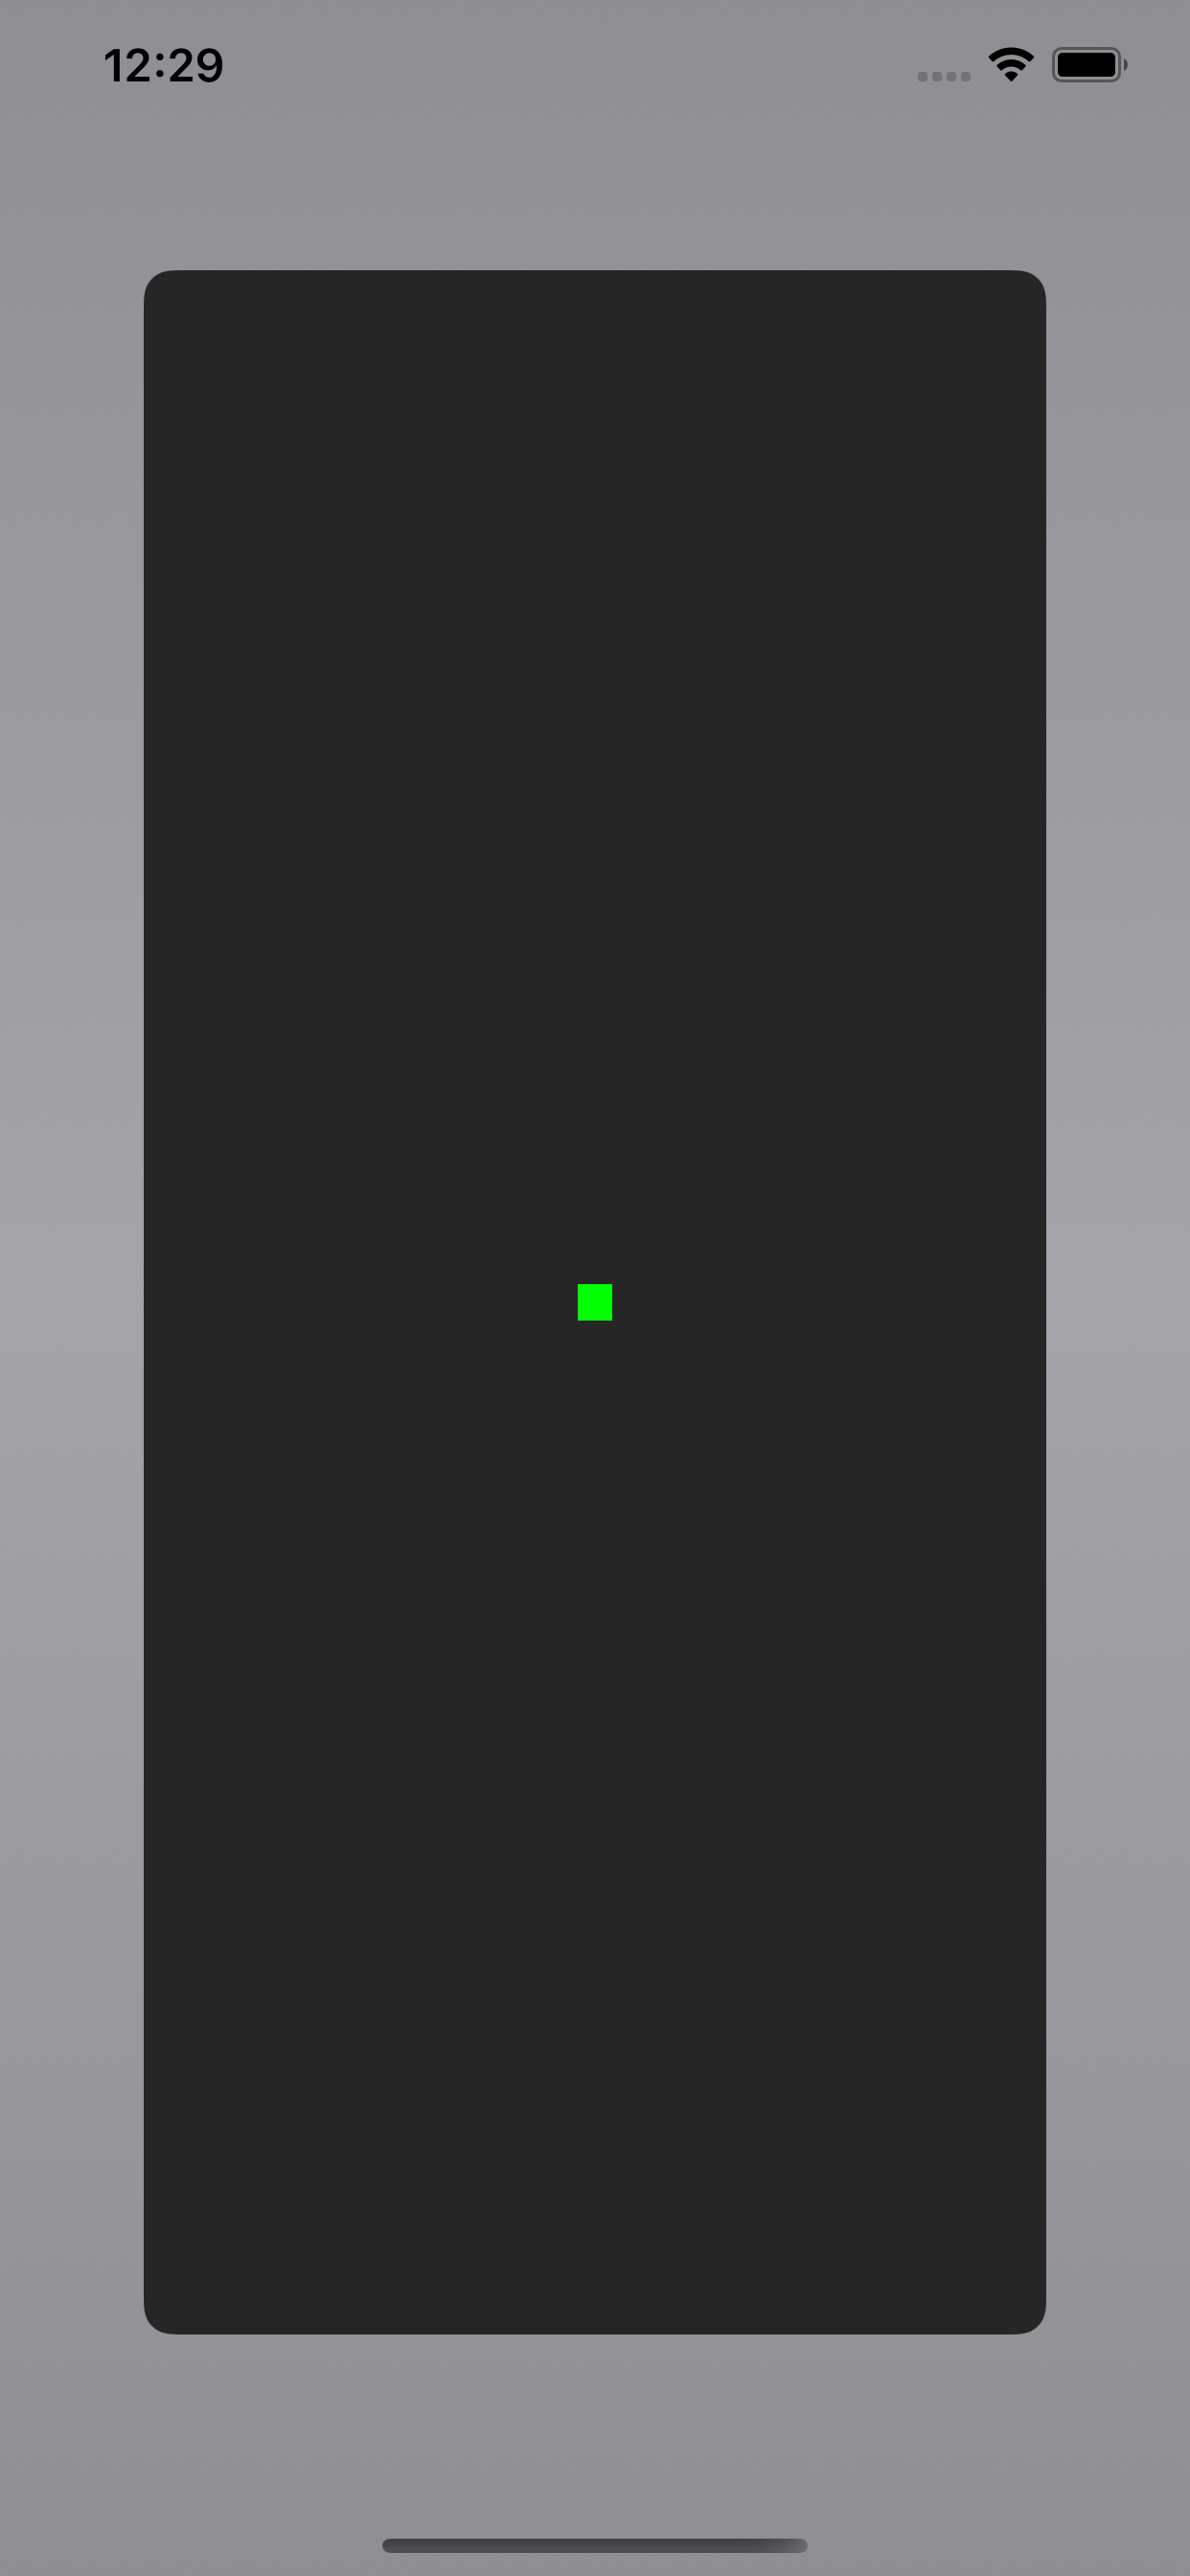
With this feature we now have interesting possibilities, for example, we can have a game controller styled view below the scene that sends commands to the player in the scene.
I made a simple scene which the player is just a square 16 by 16 so we could move it with an old style keyboard arrow keys in the SwiftUI view. You can check the full code here, at my github repository to see the full thing, the code will only work on iOS 14+ and Xcode 12+, though.
Since the buttons will work to change the player's direction I made a simple enum called PlayerDirection that will contain five actions (up, down, left, right and stop) and a property called velocity that will return a CGVector containing the correct velocity for the player.
enum PlayerDirection: String {
    case up, down, left, right, stop

    var velocity: CGVector {
        switch self {
        case .up: return .init(dx: 0, dy: 100)
        case .down: return .init(dx: 0, dy: -100)
        case .left: return .init(dx: -100, dy: 0)
        case .right: return .init(dx: 100, dy: 0)
        case .stop: return .init(dx: 0, dy: 0)
        }
    }
}
Now we need to change our GameScene so it can receive the player velocity from outside, we will use the @Binding property so every time the user clicks on a button at ContentView it will automatically update the GameScene.
class GameScene: SKScene {
    // ...
    @Binding var currentDirection: PlayerDirection

    // ...
    init(_ direction: Binding<PlayerDirection>) {
        _currentDirection = direction
        super.init(size: CGSize(width: 414, height: 896)) // It's fixed to match scaled down iPhone resolutions for the sake of simplicity
        self.scaleMode = .fill
    }

    required init?(coder aDecoder: NSCoder) {
        _currentDirection = .constant(.up)
        super.init(coder: aDecoder)
    }
}
Great! We can now go to our ContentView and add the button logic! First we will add a @State property to the View containing a default value .stop so the player only starts moving when the user taps a button.
struct ContentView: View {
    @State private var currentDirection = PlayerDirection.stop

    var body: some View {
        Text("Hello World!")
    }
}
Now we will create a function that will take care of creating a button inside the View, we want to approach the arrow keys of old keyboards, just like that:
Below the body property add this:
func directionalButton(_ direction: PlayerDirection) -> some View {
    VStack {
        Button(action: { self.currentDirection = direction }, label: {
            Image(systemName: "arrow.\(direction.rawValue)")
                .frame(width: 50, height: 50, alignment: .center)
                .foregroundColor(.black)
                .background(Color.white.opacity(0.6))
        })
        .clipShape(RoundedRectangle(cornerRadius: 10, style: .continuous))
        .shadow(color: Color.black.opacity(0.2), radius: 10, x: 10, y: 10)
        .shadow(color: Color.white.opacity(0.7), radius: 10, x: -5, y: -5)
    }
}
For the View itself we will give the visual of an old gray computer, so let's put some LinearGradient for the background:
struct ContentView: View {
    @State private var currentDirection = PlayerDirection.stop

    var body: some View {
        ZStack {
            LinearGradient(gradient: Gradient(colors: [Color.gray, Color.gray.opacity(0.8), Color.gray]),
                           startPoint: .top,
                           endPoint: .bottom)
                .edgesIgnoringSafeArea(.all)
        }
    }
}
Cool, we still have to add the GameScene and the arrow keys, so let's start with the scene first, put this below the LinearGradient:
VStack {
    SpriteView(scene: GameScene($currentDirection))
        .clipShape(RoundedRectangle(cornerRadius: 10, style: .continuous)) // Round all the views! :P
        .padding(50)
}
Now we just need to add the arrow keys to the View so we can finally tap on the buttons and see the player moving! Add this code below the SpriteView:
VStack(spacing: 10) {
    HStack {
        // Add those spaces to force the button to be in the middle and conforms to the three buttons below
        Spacer()
        directionalButton(.up)
        Spacer()
    }
    HStack {
        directionalButton(.left)
        directionalButton(.down)
        directionalButton(.right)
    }
}
.padding(.all, 10)
And that's it! Here is the code in action:
And that's it... This feature opens a lot of possibilities, imagine an adventure game that uses the inventory and action buttons as a SwiftUI view with all the cool animations and accessibility features way simpler to use.
The full code is available here: swiftui-spritekit, including the game logic so you can see how the velocity is implemented inside the scene.